React Native QR code scanner using expo-barcode-scanner
QR code is usually used as a url locator for applications such as mobile payment.In this post I will walk you through how to implement a mobile QR code scanner by using react native along with a cool expo library. This post will help you learn how to:
- How to implement a QR code scanner using React Native and TypeScript.
- How to limit the QR code detecting area.
- How to add a mask scanning area.
- How to debug react native app by using expo client.
The code is written with Typescript and is available in Github:
https://github.com/liqili/react-native-qrcode-scanner
Before starting, you need to install Node.js development environment and Yarn package management tool. Then install expo client to your mobile phone from ios app store or google play store.
Installing Expo CLI & Init Project
Java
Java
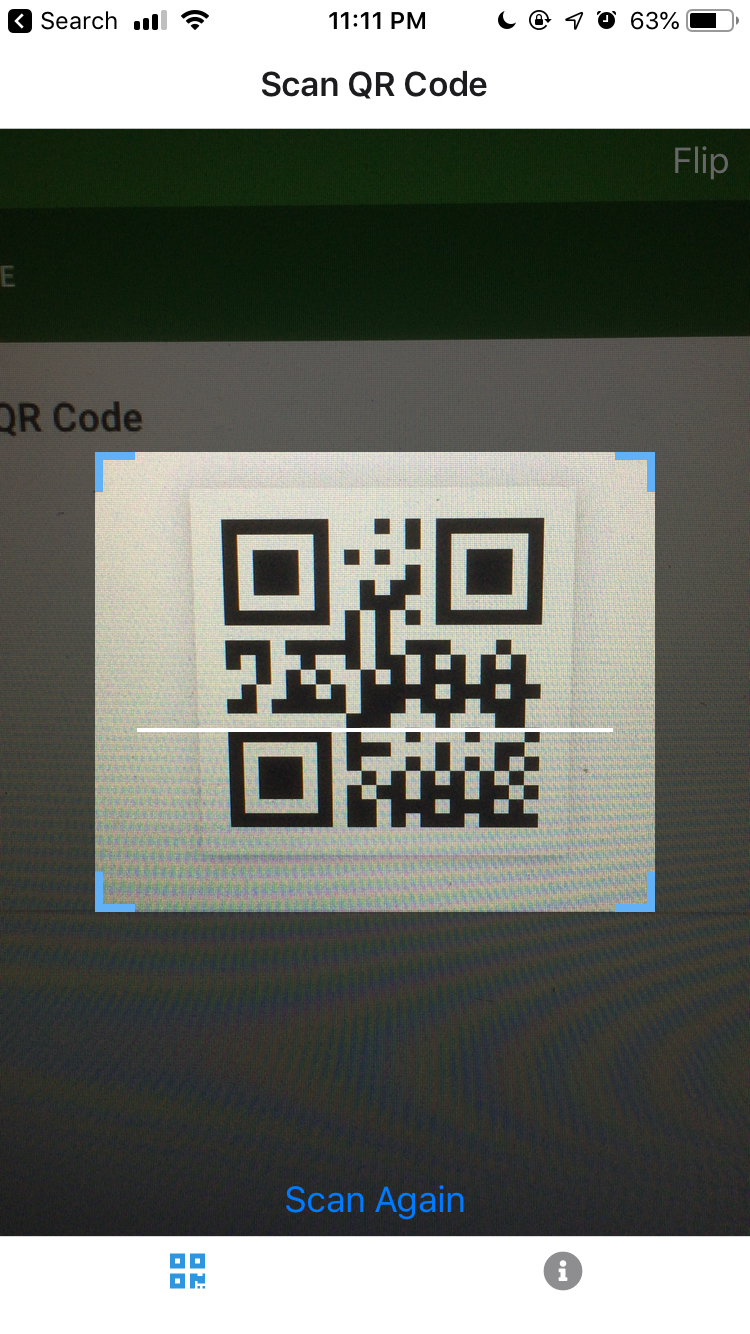
Screen page for QR code scanning
import React, {useEffect, useState} from 'react';
import {Button, Dimensions, StyleSheet, TouchableOpacity} from 'react-native';
import {Text, View} from '../components/Themed';
import {BarCodeScanner, BarCodeScannerResult} from 'expo-barcode-scanner';
import BarcodeMask from 'react-native-barcode-mask';

const finderWidth: number = 280;
const finderHeight: number = 230;
const width = Dimensions.get('window').width;
const height = Dimensions.get('window').height;
const viewMinX = (width - finderWidth) / 2;
const viewMinY = (height - finderHeight) / 2;


export default function BarCodeScanScreen() {
    const [hasPermission, setHasPermission] = useState<boolean | null>(null);
    const [type, setType] = useState<any>(BarCodeScanner.Constants.Type.back);
    const [scanned, setScanned] = useState<boolean>(false);


    useEffect(() => {
        (async () => {
            const {status} = await BarCodeScanner.requestPermissionsAsync();
            setHasPermission(status === 'granted');
        })();
    }, []);

    const handleBarCodeScanned = (scanningResult: BarCodeScannerResult) => {
        if (!scanned) {
            const {type, data, bounds: {origin} = {}} = scanningResult;
            // @ts-ignore
            const {x, y} = origin;
            if (x >= viewMinX && y >= viewMinY && x <= (viewMinX + finderWidth / 2) && y <= (viewMinY + finderHeight / 2)) {
                setScanned(true);
                alert(`Bar code with type ${type} and data ${data} has been scanned!`);
            }
        }
    };

    if (hasPermission === null) {
        return <Text>Requesting for camera permission</Text>;
    }
    if (hasPermission === false) {
        return <Text>No access to camera</Text>;
    }
    return (
        <View style={{flex: 1}}>
            <BarCodeScanner onBarCodeScanned={handleBarCodeScanned}
                            type={type}
                            barCodeTypes={[BarCodeScanner.Constants.BarCodeType.qr]}
                            style={[StyleSheet.absoluteFillObject, styles.container]}>
                <View
                    style={{
                        flex: 1,
                        backgroundColor: 'transparent',
                        flexDirection: 'row',
                    }}>
                    <TouchableOpacity
                        style={{
                            flex: 1,
                            alignItems: 'flex-end',
                        }}
                        onPress={() => {
                            setType(
                                type === BarCodeScanner.Constants.Type.back
                                    ? BarCodeScanner.Constants.Type.front
                                    : BarCodeScanner.Constants.Type.back
                            );
                        }}>
                        <Text style={{fontSize: 18, margin: 5, color: 'white'}}> Flip </Text>
                    </TouchableOpacity>
                </View>
                <BarcodeMask edgeColor="#62B1F6" showAnimatedLine/>
                {scanned && <Button title="Scan Again" onPress={() => setScanned(false)}/>}
            </BarCodeScanner>
        </View>
    );
}

const styles = StyleSheet.create({
    container: {
        flex: 1,
        alignItems: 'center',
        justifyContent: 'center',
    },
    title: {
        fontSize: 20,
        fontWeight: 'bold',
    },
    separator: {
        marginVertical: 30,
        height: 1,
        width: '80%',
    },
});
Add a mask area
import BarcodeMask from 'react-native-barcode-mask';
<BarcodeMask edgeColor="#62B1F6" showAnimatedLine/>
Limit detecting area
In some cases, if you don't want to scan the whole camera area, we can handle this in the callback method.
const finderWidth: number = 280;
const finderHeight: number = 230;
const width = Dimensions.get('window').width;
const height = Dimensions.get('window').height;
const viewMinX = (width - finderWidth) / 2;
const viewMinY = (height - finderHeight) / 2;
if (x >= viewMinX && y >= viewMinY && x <= (viewMinX + finderWidth / 2) && y <= (viewMinY + finderHeight / 2)) {
setScanned(true);
alert(`Bar code with type ${type} and data ${data} has been scanned!`);
}Then you are all set!

Comments
Post a Comment